Creating Your First Project
Learn how to set up and configure your first Dembrane project for success.
Step 1: Setting up your dashboard
- Log in to your Dembrane account
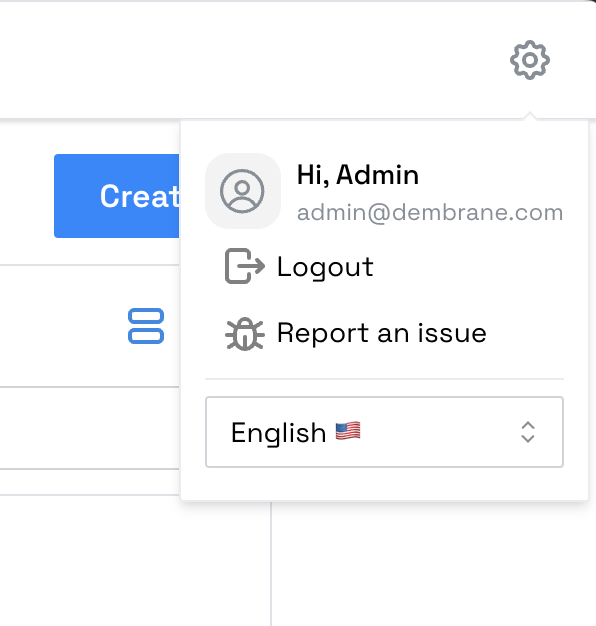
- Click on the Settings icon in the top right of your dashboard to change the language of your dashboard or report an issue. If you want to log out at any time, you can do that here too.
Step 2: Creating a Project
- If you want to create a new project, click on the Home icon and then click “Create”.

Project Settings
Now you’ll arrive at your main dashboard. First make sure you’re in the “Project Settings” tab. Here you give your project a name and provide information about the context of your project.
- Name: Give your project a name instead of “New Project”. Choose something descriptive and recognizable. You can change this later
- Context: Add details about the purpose of your project (internal use). This could be, for example, what the goal of the project is.

What else you can do in the project settings is download all transcriptions and delete the project when it is no longer needed.
Step 3: Setting up your portal
The participant portal is your gateway to collecting conversations on a large scale. Here you configure what your participants will see when scanning the project’s QR code and in which language the transcripts will be stored.
To make the following adjustments, first make sure you are in the “Portal Editor” tab. This is located next to the project settings.

Language Settings
- Language: This is the language of the participant portal and the transcription.
If you have this set to English and your conversations are conducted in Dutch, your recorded audio will be translated to English and stored that way.
🫰So always make sure that the language setting of the portal is the same as the language of your dialogue session to ensure correct transcription.
Do you expect multiple languages? Then create different projects for this.
⚠️ If you change the language of the project, the QR code will also change. - Ask for Name: By checking this box, participants must provide their name when starting a conversation.

Tutorial Options
When scanning the QR code, your participants will see a tutorial. By clicking on the “Show preview” button, you can see what this will look like for the participant.

You have three options:
- No Tutorial
- This only contains the privacy information
- Basic
- This shows the privacy information and an introduction to Dembrane.
- Advanced
- This shows the privacy information, an introduction to Dembrane, and tips and tricks for the participant to make the best possible recording.
Keywords
Here you can create keywords that participants can choose when starting a recording. You can also add keywords to the conversation afterward. This is useful for easily finding conversations later.

Page Settings
- Page title: This title is shown to participants when they start a conversation
- Page content: This page is shown to participants when they start a conversation after successfully completing the tutorial
- Thank you page content: This page is shown after the participant has completed the conversation

Transcription Settings
Specific context: Here you can add important terms, abbreviations, or names of speakers to ensure they appear correctly in the transcription. Do you notice that something is consistently misspelled in your data analysis? Then this is the place to add the word so that it appears correctly in the analysis.